
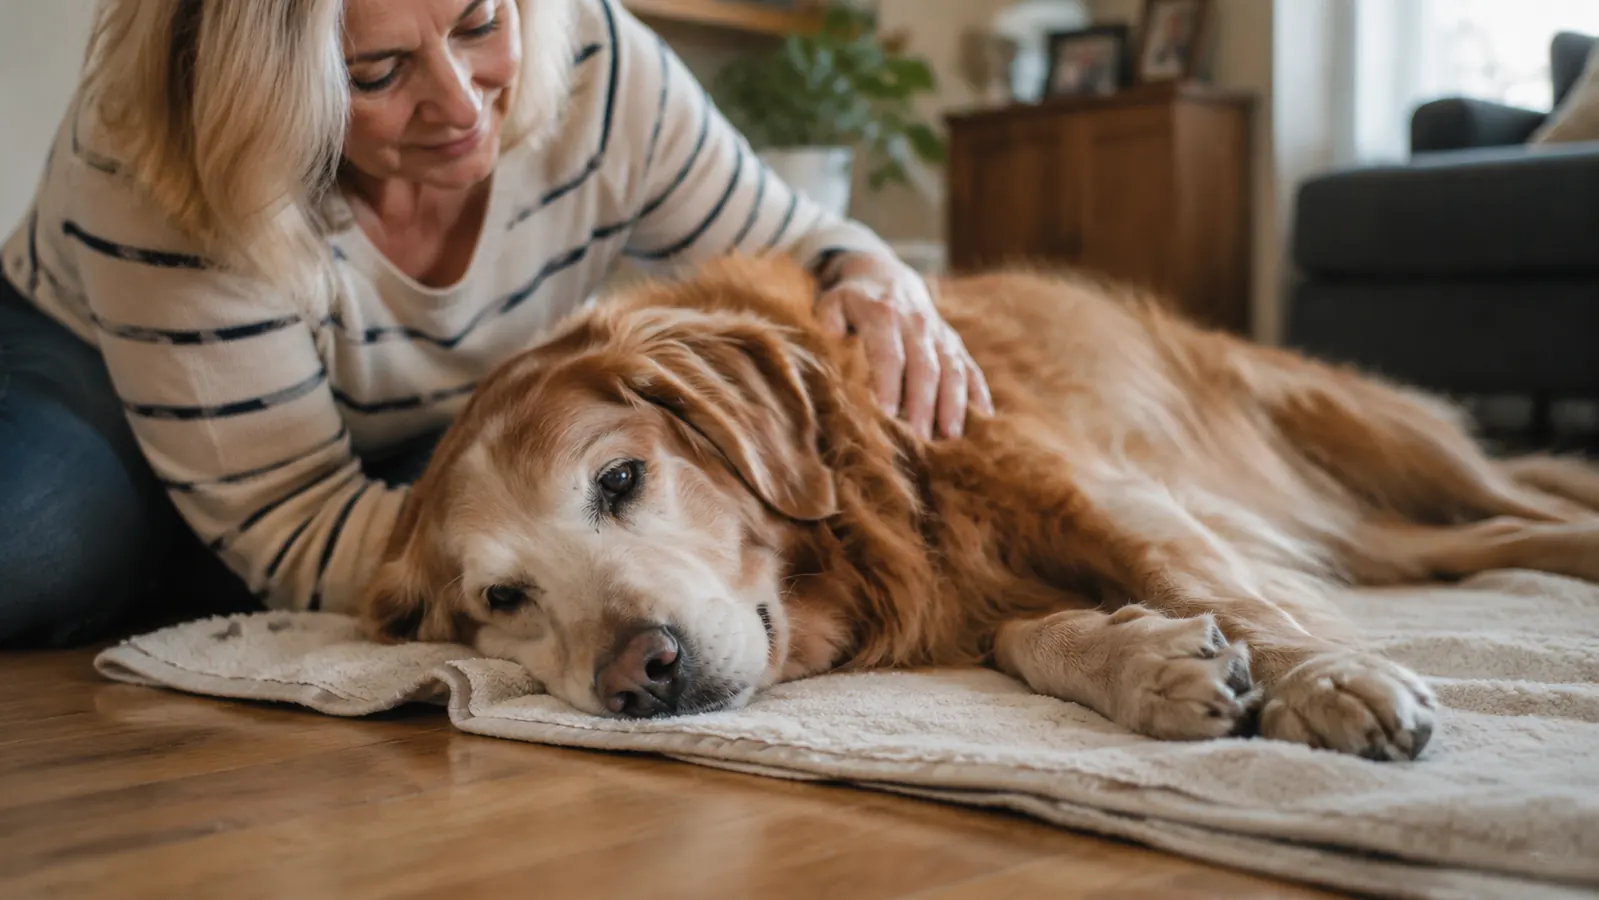
For years, trimming Bailey's nails was a two-person job that always ended the same way. She would hear the clipper click open and start pulling her paws away before I got within a foot. By the time I found a nail I was brave enough to squeeze, I was shaking too, and the guilt made it worse. I had a Casfuy grinder sitting in my cart for weeks before I finally ordered it, and the night it arrived I promised myself I would not put it off any longer. Senior nails get brittle, the quick gets harder to see under the thickened nail, and nothing about old age makes a 70-pound dog easier to hold still.
Then I stopped fighting her and changed the whole routine. I switched from the clippers to a quiet electric nail grinder, set up a calm spot she could settle into, and learned to work a little bit at a time instead of trying to finish in one sitting. Bailey still does not love it, and I am not going to pretend otherwise, but she no longer shakes, she no longer hides, and the clicking on the floor is gone. Here is the exact routine I use now, step by step, so you can trim a nervous senior dog's nails at home without the dread that goes with it.
A quiet grinder changed this whole routine for us.
The Casfuy nail grinder does the grinding so I do not have to squeeze and shake. It is rechargeable, has a light to spot the quick, and grinds a little at a time. Check today's price on Amazon.
Amazon Check Today's Price on Amazon →Step 1: Set Up Your Spot Before You Touch a Paw
The setup matters more than the tool, and I learned that the hard way. The first few times I used the grinder, I sat on the edge of the couch and tried to grab Bailey's paw in passing. She tensed the second I moved, and I was essentially wrestling a heavy dog who had already decided the answer was no. What changed everything was setting up a proper workstation before ever turning the grinder on. When the dog is comfortable and lying in a familiar spot, the rest of the job gets dramatically easier.
I lay a thick towel on the floor in front of a comfortable chair, in the corner of the living room where she already naps. I put a small tray of training treats within reach, and I sit on a low stool instead of trying to work from the floor. Getting the dog up on a stable, slightly raised surface where you are comfortable makes the whole thing steadier. For an old dog with stiff joints, keep that surface low, a few inches off the ground at most, so she is not scrambling up onto a table. The goal is for her to lie down and stay put because the spot is familiar and soft, not because you are holding her there.
I also keep the grinder and a small box of cornstarch nearby in case of a nick. You are far less likely to need them with a grinder than with clippers, but having them on the towel means you never have to leave a nervous dog alone to go hunt for first aid in the middle of a session. That preparation is what lets me stay in the moment and keep my hands on her, which is the whole point of setting up a spot at all.
Step 2: Get Her Used to the Sound Before the Grinding
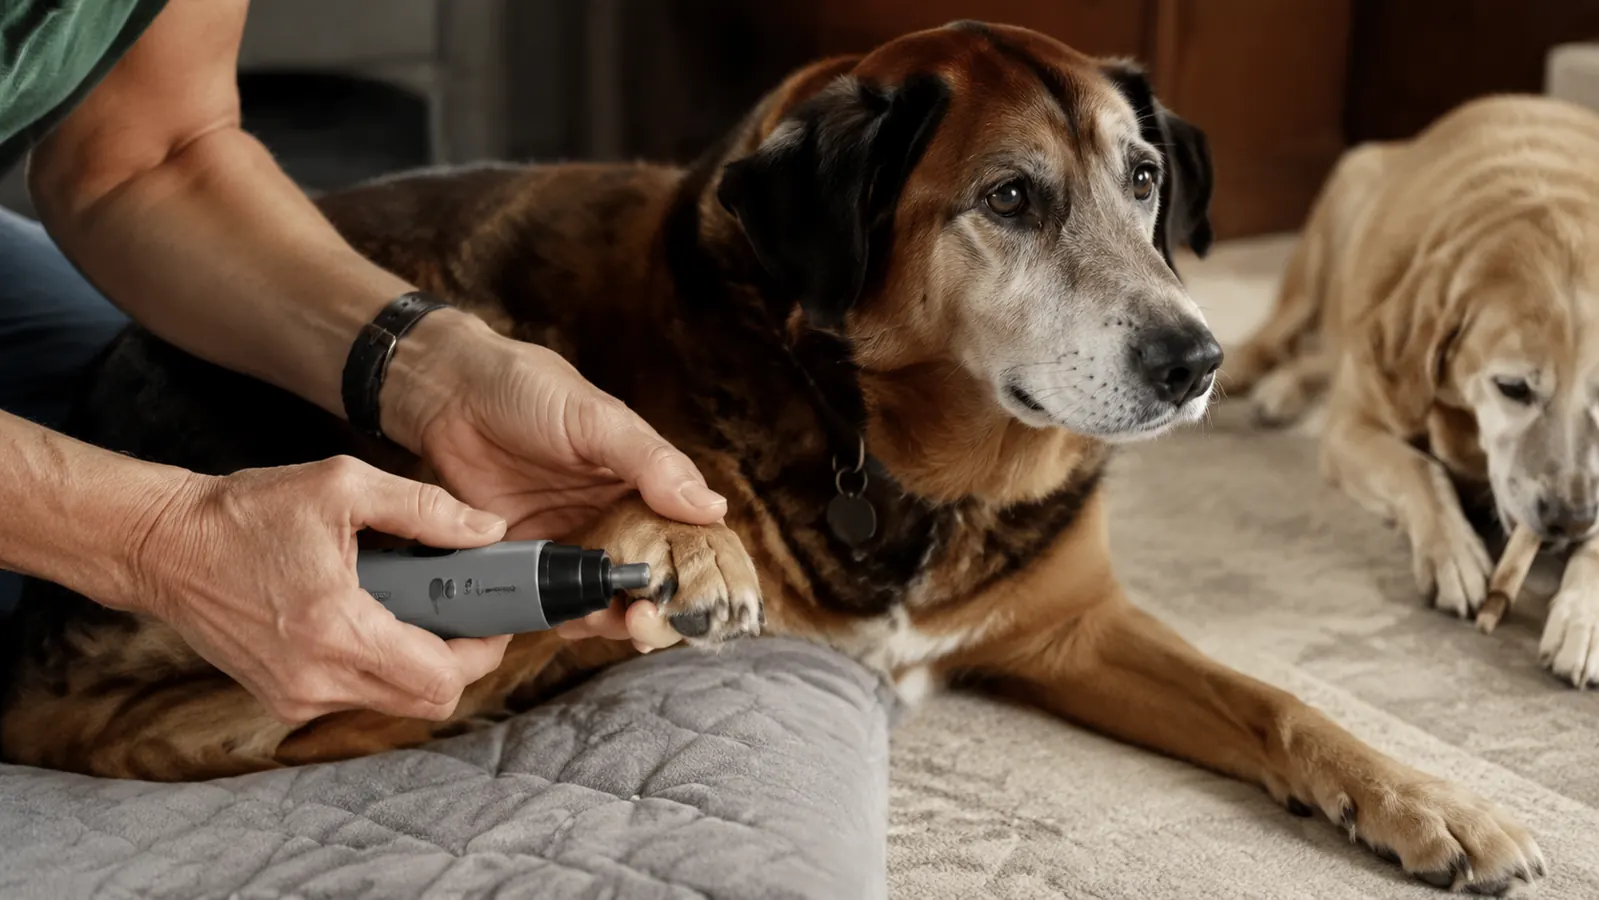
Bailey's fear was never really about the pain, it turned out. It was the sound. The sharp click of the clipper is what made her flinch, and every time she flinched I worried I would clip the quick. The grinder solved most of this before I even touched a nail, because it is quiet. I charge mine, run it a few seconds in the air near her, then set it down and give her a treat. She blinked at it, decided it was not a threat, and relaxed in a way she never had around the clippers.
I do the introduction ritual every single time, even now that she is used to it. Turn it on, let her sniff the air near it, touch it gently to one of her front legs, then reward her. If she pulls away, I do not chase the paw. I just stop, wait for her to settle, and try again. Rushing the introduction is how you turn a calm dog back into a shaking one, and one bad session can undo a week of slow progress. With an elderly dog, patience is the whole game, and you cannot skip the warm-up no matter how many times you have done it.
Step 3: Find the Quick Before You Start Grinding
On a young dog with light nails, the quick is the pink line you can see through the nail. On a senior dog, the nails get thicker and darker, and that pink line disappears into the dark material. That is the single biggest reason older dogs end up with bleeding paws, and it is why a grinder is the safer choice the older a dog gets. You are working in much smaller, controllable increments, which gives you time to stop before you do harm.
The Casfuy has a small light on the front that I point down at the nail to see where the darkness gives way. As you grind, the dust on the cut surface starts to show a faint pink dot in the middle when you are getting close to the quick. The moment I see that soft center, I stop on that nail. I also use the rule of thumb that worked for me with Bailey's front feet: the nails that touch the floor and click are the ones to shorten, and a paw nail should not drag when she walks on a hard surface.
If you are not sure whether you are close, you are not. It is always better to leave a nail a little long and come back to it in a few days than to take one big pass and hit the quick. With a grinder you are shaving a thin layer, so the consequence of stopping early is nothing, and the consequence of going too far with clippers was a panicked dog and a red paw. That trade is why I never went back.
Step 4: Grind in Short Passes, Not a Full Shave
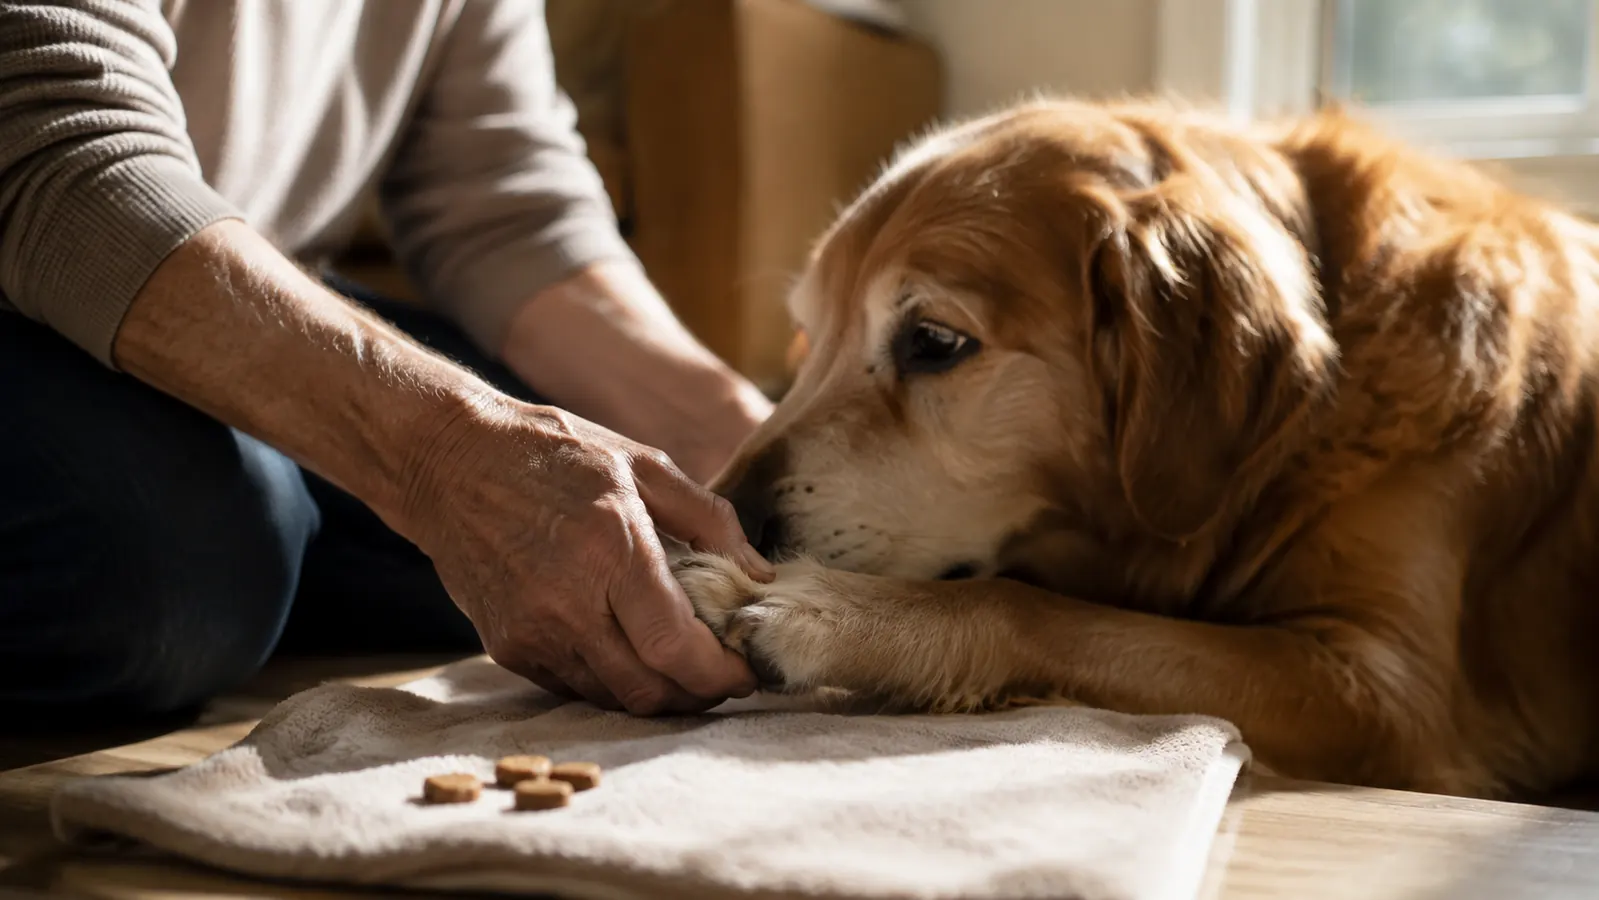
The biggest mistake I made early on was trying to finish every nail in one session. Bailey would tolerate the first two or three nails and then start pulling back. I thought I had to push through, and I was making it worse for both of us. The routine that works is short, frequent passes, and stopping while she is still calm. Once the tolerant nails are done, I do not chase the ones she is guarding. I leave them and pick them up tomorrow.
I hold the grinder at a slight angle against the end of the nail, let it touch for two or three seconds, then lift it away. Grinding is not pressure, the weight of the tool plus the spinning head does the work. I do a few seconds on one nail, switch to another so the heat does not build up in one spot, and keep the motions quick and even. The light angled at the nail means I can watch the cut as I go instead of working blind the way I did with clippers.
That switching matters more than it sounds. Grinding creates a little friction heat, and pressing the wheel into one spot for too long can make the nail uncomfortably warm. By moving from nail to nail and pulling away often, I keep everything cool and I keep Bailey from associating the grinder with an unpleasant hot feeling. Short and calm beats thorough every time with a nervous senior dog.
Step 5: Finish With a File-Soft Edge and a Real Reward
When I am done, I run the grinder across each nail one last time with a softer touch to take off any rough edge. A freshly ground nail can have a slightly ragged rim, which a long-haired dog will catch on carpet or a sweater. That last pass just smooths it so no hook is left to snag. I also do not forget the dewclaws, the little nail higher on the inside of the leg, since those do not wear down on the ground at all and can grow long fast on a senior dog.
Then I give her the good reward, not the same everyday kibble, something special she only gets after nail trims. I keep a little container of cheese bits in the fridge for exactly this. Over a few months, that conditioned association did more than any hold I ever used: she now walks over and lies down when she sees the towel come out, because she has figured out the grinder means cheese. The reward is the final step, not a bribe, it is the reason she will cooperate the next time too.
What Else Helps
A grinder is the biggest single change, but it is not the only thing that made this work for a senior dog. For an old dog whose joints ache, holding a leg up for more than a minute or two starts to hurt, so I do no more than two paws a day. Front paws one day, back paws the next, so no one leg is lifted for long. I also trim after a walk when she is tired and lying down anyway, because a tired dog holds far stiller than an alert one.
I keep the routine on a schedule rather than waiting until the clicking gets loud. A quick grind once a week keeps the nails from reaching the point where they force the paw into an awkward angle, which is a real problem for an older dog whose gait is already stiff. Keeping on top of it also means each session is shorter and calmer, because I am never trying to take off a lot of nail at once. If you are just starting out, once every week or two is plenty early on.
If your dog is heavier or more anxious than Bailey, do not be too proud to ask a second person to help. One of us sits with the dog and feeds treats while the other cradles a paw and grinds. I tried to manage alone for the first week because I wanted to prove I had a routine, and the only thing I proved was that a stubborn streak does not steady a paw. Two gentle hands on the job makes a nervous senior far more forgiving of the whole idea.
She no longer shakes, she no longer hides, and the clicking on the hardwood is gone.
Bailey and I are a few months into this routine now, and I still keep the towel and the treats tucked away for the next time. She is an old dog with stiff joints and thick nails, the exact combination that used to have me dreading nail day. My Casfuy grinder plus the calm setup changed that. It is now a ten-minute job we do together at her pace, and I stopped caring that it is not finished in a single sitting, because the slow way is the way that sticks.
This is the quiet grinder that took the shaking out of nail day.
Rechargeable, with a light to spot the quick and a low noise that a nervous senior dog tolerates far better than clippers. See the current price on Amazon.
Amazon Check Today's Price on Amazon →